Just Landed in the UK? The Ultimate Arrival Checklist for International Students (2026)
Starting your university journey in the United Kingdom is a major milestone — but your first week in the UK as an international student can feel like an administrative whirlwind. Between navigating unfamiliar public transport, decoding the NHS, and keeping track of critical legal documents, it is easy to feel overwhelmed.
This definitive UK arrival checklist for international students is built around a practical, day-by-day structure designed to get you legally compliant, financially set up, and fully integrated — all within your first seven days. Follow it step by step to avoid costly mistakes and bureaucratic delays.
Bookmark this page, print it out, or save it to your phone before you land.
Days 1–2: Legal Status & Staying Connected
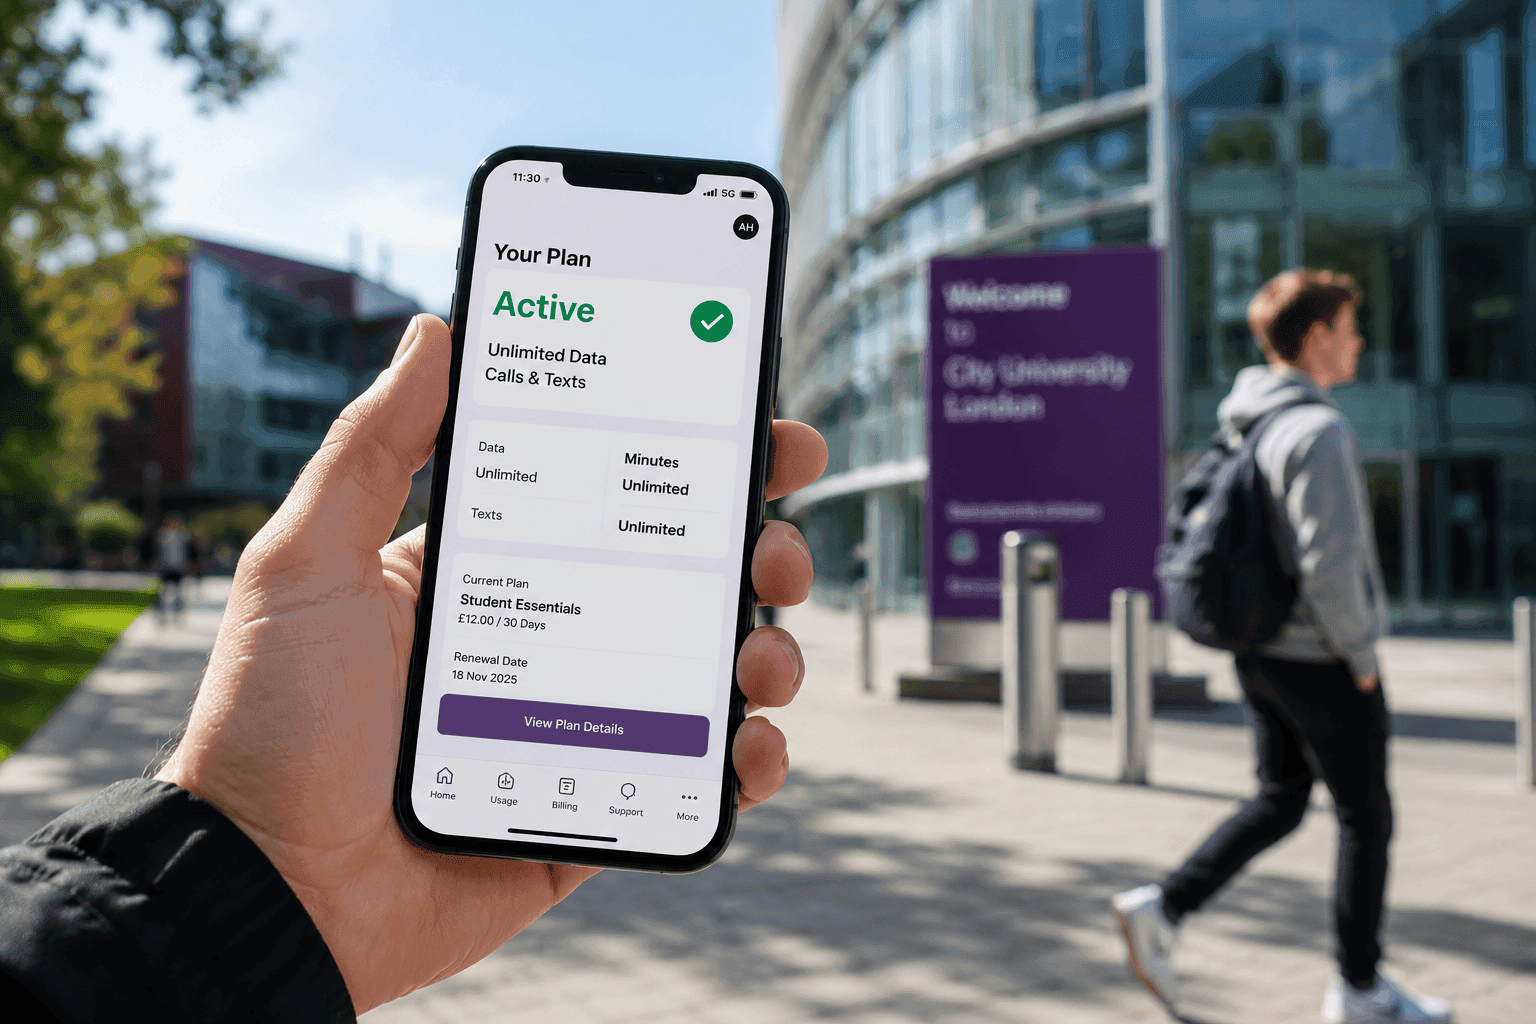
Your first 48 hours in the UK should focus entirely on two things: confirming your legal immigration status and establishing local communication. Everything else depends on these two foundations.
1. Verify Your eVisa or Collect Your Biometric Residence Permit (BRP)
The UK Home Office is fully transitioning to digital-first eVisas. Depending on when your visa was processed, you may need to take one of two actions
Physical BRP Collection: If you were issued a Biometric Residence Permit, you must collect it from your nominated Post Office or university campus within 10 days of arrival (or before your vignette sticker expires). Missing this deadline can affect your legal status.
eVisa Verification: If your status is fully digital, log into your UKVI online account immediately to check all details are correct. Generate a “share code” — you will need this to prove your right to study and work to landlords, employers, and banks.
Document Backup: Photograph your passport, visa, and BRP. Store copies in a secure cloud folder (Google Drive or OneDrive). Keep originals locked safely in your accommodation.
2. Get a UK SIM Card
International roaming charges will drain your budget fast. Avoid this by picking up a local SIM on Day 1.
Best UK SIM Providers for Students: giffgaff, VOXI, Smarty, and EE all offer affordable rolling monthly plans with no contract. Many include unlimited social media data and cheap international calling rates.
You can buy a temporary prepaid SIM at the airport or order a free SIM online before you even land.
Days 2–3: Official University Registration
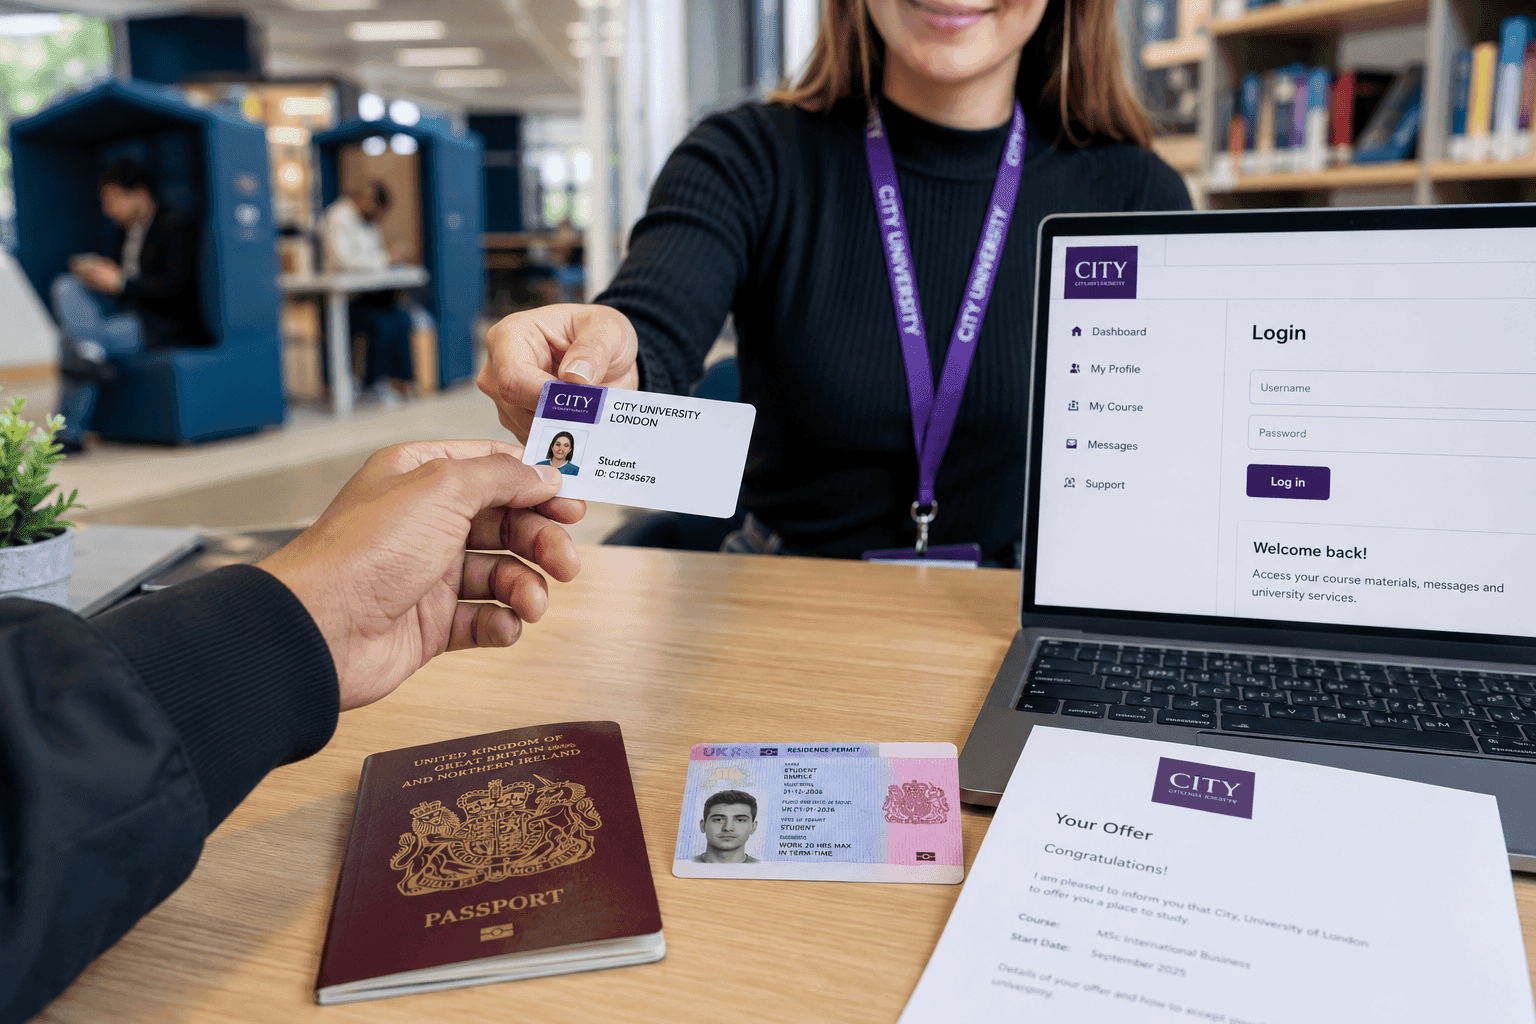
With your legal status confirmed and a local number in hand, your next priority is official university registration. You cannot access classes, the library, or campus facilities until this is done.
3. Complete UK University Enrolment
Attend your in-person enrolment appointment. Bring your passport, visa/BRP, and official university acceptance letter.
Collect Your Student ID Card: This is your primary identification in the UK and your gateway to hundreds of student discounts nationwide.
Activate IT Accounts: Set up your university email, access your Virtual Learning Environment (Canvas, Blackboard, Moodle), and connect to campus Wi-Fi.
4. Request Your Student Status Letter (Certificate of Enrolment)
Before leaving the enrolment office, request your official Student Status Letter (also called a Certificate of Enrolment). This single document unlocks two major financial benefits:
Required to open a traditional high-street bank account (Barclays, HSBC, Lloyds, NatWest).
Essential to claim your 100% Council Tax Exemption — worth up to £1,500 per year.
Days 3–4: Setting Up Your UK Finances
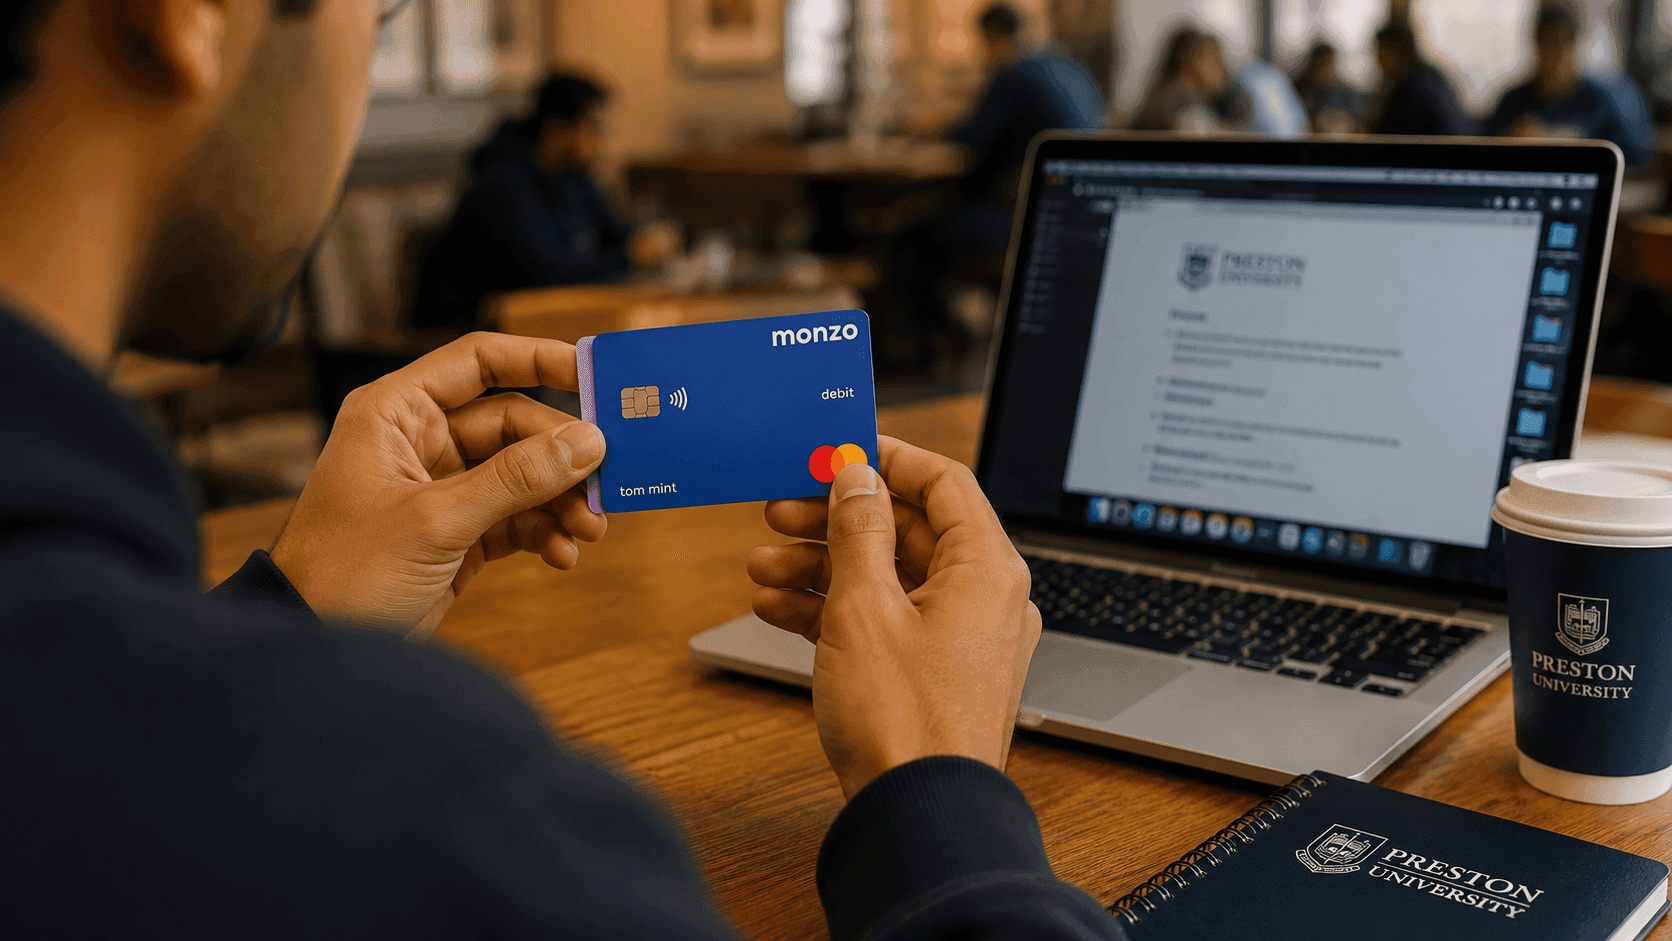
To pay rent, buy groceries, receive money from home, or get paid for part-time work, you need a local UK banking solution. You have two main options:
5. Open a UK Bank Account
Option A — Traditional High Street Banks (Barclays, HSBC, Lloyds, NatWest)
Dedicated student accounts with interest-free overdrafts.
In-person branch support across the UK.
Requires your Student Status Letter plus proof of address.
Can take 1–2 weeks to open from application.
Option B — Digital-First Banks (Monzo, Revolut, Chase UK)
Set up in minutes using only your passport.
No proof of address required on Day 1.
Instant virtual debit card issued immediately.
Excellent built-in budgeting and spending tools.
The Smart Play: Open a Monzo account on Day 2 using only your passport for immediate access to UK bank details. Once you have your Student Status Letter and a confirmed address, apply for a traditional student account to unlock interest-free overdrafts and student perks.
Compare all options in the SettledHub UK Student Banking Guide.
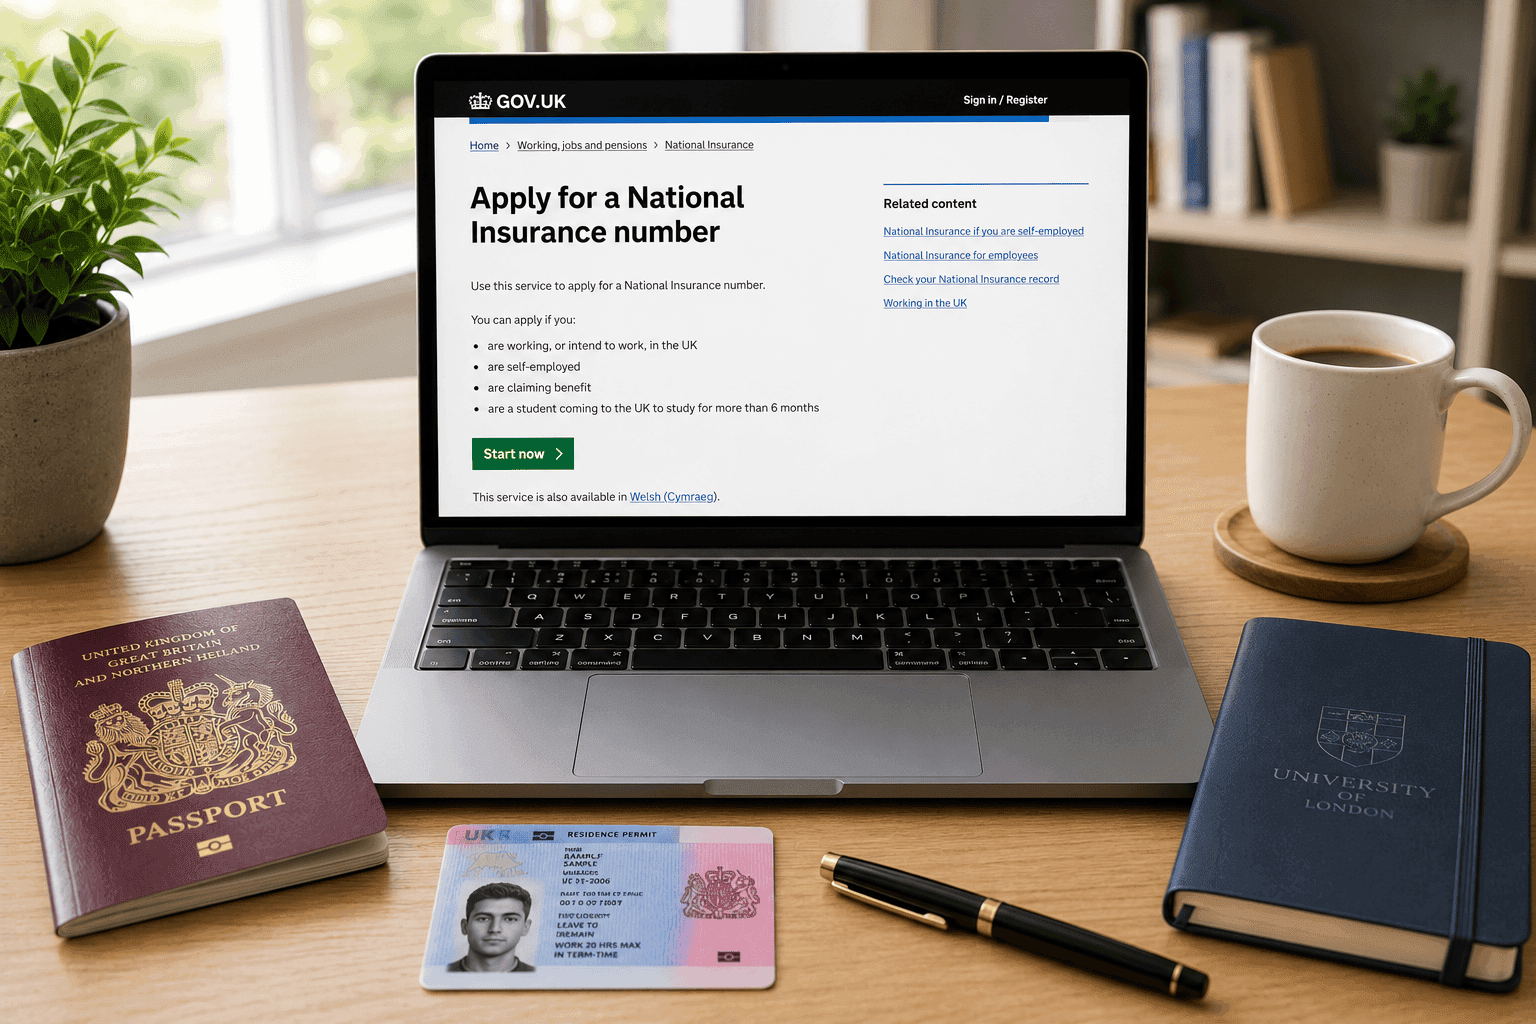
6. Apply for a National Insurance Number (NINo) via HMRC
If you plan to work part-time during your studies, you must apply for a National Insurance Number (NINo) through HM Revenue and Customs (HMRC) to ensure you are taxed correctly.
Apply online for free via the official GOV.UK portal as soon as you land. The earlier you apply, the sooner you receive it.
You can legally start working before your card arrives, provided your visa permits it (usually up to 20 hours per week during term time).
Find student-friendly part-time jobs at the SettledHub Student Jobs Directory.
Days 4–5: Health Registration & Housing Rights
7. Register with an NHS GP (General Practitioner)
As an international student, you paid the Immigration Health Surcharge (IHS) as part of your visa application. This gives you full access to the UK’s National Health Service (NHS) — but you are not automatically registered with a local GP surgery.
The Catchment Area Rule: GP clinics operate within strict geographic boundaries. You can only register with a surgery that covers your specific postcode.
How to Register: Search NHS.uk for a GP surgery near your accommodation, then complete their online registration form. Do not wait until you are ill — registration can take up to one week to process.
Read the full step-by-step How to Register with a UK GP guide on SettledHub.
8. Claim Your Student Council Tax Exemption
If you are renting private accommodation off-campus, you are legally exempt from UK Council Tax. However, local councils automatically bill all residents unless you formally claim your exemption.
Log onto your local council’s website (determined by your postcode) and navigate to their Council Tax section.
Upload your Student Status Letter to claim your 100% exemption.
Potential saving: up to £1,500 per year.
Learn about your rights as a private tenant in the SettledHub Tenant Rights Directory.
Days 5–7: Travel Hacks & Daily Life Setup

The admin is done. Now it is time to optimise your daily expenses and start settling into your new city.
9. Get a 16-25 Railcard for Discounted UK Train Travel
Public transport in the UK is extensive but expensive at standard rates. A 16-25 Railcard is one of the best financial decisions an international student can make.
Cost: £30 for a full year.
Saving: Instant 1/3 off all national rail fares across Great Britain. The card pays for itself within a handful of trips.
London Tip: Link your Railcard to your Oyster Card at any Tube station for 1/3 off off-peak London Underground fares too.
Available to students aged 16–25, or full-time students of any age. Buy online at railcard.co.uk or at any staffed rail station.
10. Find Your Local Budget Supermarkets & Essential Shops
Avoid paying premium prices at convenience stores. Locate these outlets near your accommodation in your first week:
Budget Groceries: Aldi and Lidl offer the lowest prices in the UK. Tesco, Sainsbury’s, and Asda are solid mid-range options — sign up for their free loyalty cards (Tesco Clubcard, Nectar) for discounts on every shop.
Home Essentials: Poundland, B&M, and Home Bargains are ideal for affordable bedding, kitchenware, and cleaning supplies.
Quick-Reference Survival Checklist
Work through these 11 tasks in order during your first week:
Days 1–2
☐ Confirm eVisa status or collect your BRP from the Post Office.
☐ Buy a UK SIM card (giffgaff, VOXI, Smarty, or EE).
Days 2–3
☐ Complete official university enrolment.
☐ Collect your Student ID card.
☐ Request your Student Status Letter (Certificate of Enrolment).
Days 3–4
☐ Open a Monzo digital bank account using your passport.
☐ Apply for your National Insurance Number (NINo) via GOV.UK.
Days 4–5
☐ Register with a local NHS GP surgery.
☐ Claim your Council Tax Exemption via your local council website.
☐ Apply for a traditional student bank account (once you have your Status Letter).
Days 5–7
☐ Buy a 16-25 Railcard at railcard.co.uk.
☐ Locate your nearest Aldi/Lidl and Poundland.
Essential Numbers & Apps
999 — Emergency services (Police, Fire, Ambulance).
111 — Non-emergency NHS medical advice, available 24/7, free of charge.
Too Good To Go — App to buy surplus food from local cafes, bakeries, and supermarkets at up to 70% off.
Citymapper / Google Maps — Real-time UK public transport navigation for buses, trains, and the Tube.
Monzo / Starling — Best apps for managing your UK budget, tracking spending by category, and sending money abroad.
Frequently Asked Questions (FAQ)
Can I open a UK bank account before arriving in the UK?
Yes. Several digital-first banks allow you to begin your application from abroad using your passport and a confirmed UK address. However, full account access and physical card delivery typically require in-person identity verification once you arrive in the UK.
How long does it take to register with an NHS GP as an international student?
Most GP surgeries process registration within 3 to 7 working days. Submit your online registration form as soon as you arrive — do not wait until you are unwell. In the meantime, if you need urgent medical advice, you can call NHS 111 at any time, free of charge.
What should I do if I lose my passport or BRP in the UK?
Report the loss to your local police station immediately and obtain a crime reference number. Contact your university’s International Student Support team and your home country’s embassy or consulate in the UK to apply for emergency replacement travel documents.
Are NHS prescriptions free for international students in the UK?
GP consultations are free for all students who have paid the Immigration Health Surcharge. However, outpatient prescriptions in England carry a standard flat charge (currently approximately £9.90 per item). Prescriptions are entirely free of charge in Scotland, Wales, and Northern Ireland.
Do I need a National Insurance Number before I can start working in the UK?
No. You can legally begin working before your NINo arrives, as long as your visa grants you the right to work (typically up to 20 hours per week during term time). However, you must apply for your NINo as soon as possible via the GOV.UK website to ensure you are taxed correctly from the start.
Start Your UK Journey with SettledHub
Navigating your first week in the UK as an international student is far less stressful with the right support. SettledHub is purpose-built to help international students settle into the UK — from finding no-guarantor student accommodation to comparing student bank accounts, understanding your tenant rights, and registering with a local NHS GP.
Explore every SettledHub arrival resource today and build your future in the UK with total confidence.